Outline:
- Introduction
- Importance of Proper Adjustment
- Overview of the Adjustment Process
- Understanding the Basics
- Components of a Vibratory Bowl Feeder
1) Bowl
2) Base Unit
3) Drive Unit
4) Control System
- Principles of Operation
- Pre-Adjustment Preparation
- Safety Precautions
- Tools and Equipment Needed
- Step-by-Step Adjustment Process
- Initial Inspection
- Checking and Adjusting the Drive Unit
Electromagnetic Drive Adjustment
Pneumatic Drive Adjustment
- Bowl Alignment
Leveling the Bowl
Ensuring Proper Part Flow
- Tuning the Control System
Frequency Adjustment
Amplitude Adjustment
- Fine-Tuning for Optimal Performance
- Adjusting Feed Rate
- Handling Different Part Types
- Noise Reduction Techniques
- Common Issues and Troubleshooting
- Overfeeding or Underfeeding
- Part Jamming
- Inconsistent Part Orientation
- Excessive Noise
- Maintenance Tips for Sustained Performance
- Regular Cleaning
- Periodic Inspections
- Component Replacement Guidelines
- FAQs
- What are the signs that a vibratory bowl feeder needs adjustment?
- How often should adjustments be made?
- Can adjustments be made without professional help?
Introduction
Importance of Proper Adjustment
Properly adjusting a vibratory bowl feeder is crucial for maintaining its efficiency and ensuring a smooth production process. Incorrect settings can lead to issues such as inconsistent part feeding, increased wear and tear, and operational downtime. This guide aims to provide a comprehensive overview of how to adjust a vibratory bowl feeder to optimize its performance.
Overview of the Adjustment Process
Adjusting a vibratory bowl feeder involves several steps, from initial inspection to fine-tuning for optimal performance. This guide will walk you through each step, providing detailed instructions and tips to help you achieve the best results.
Understanding the Basics
Components of a Vibratory Bowl Feeder
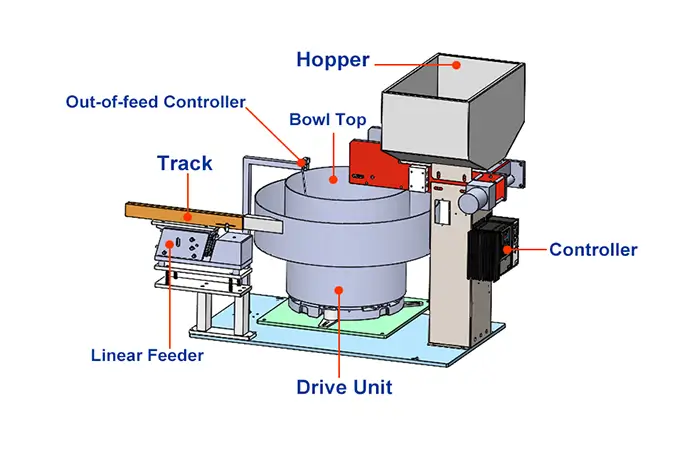
To effectively adjust a vibratory bowl feeder, it is important to understand its main components and their functions:
- Bowl: The part that holds and feeds the components.
- Base Unit: Provides stability and supports the drive unit.
- Drive Unit:Generates the vibrations that move the parts.
- Control System:Regulates the vibration frequency and amplitude.

Step-by-Step Adjustment Process
Initial Inspection
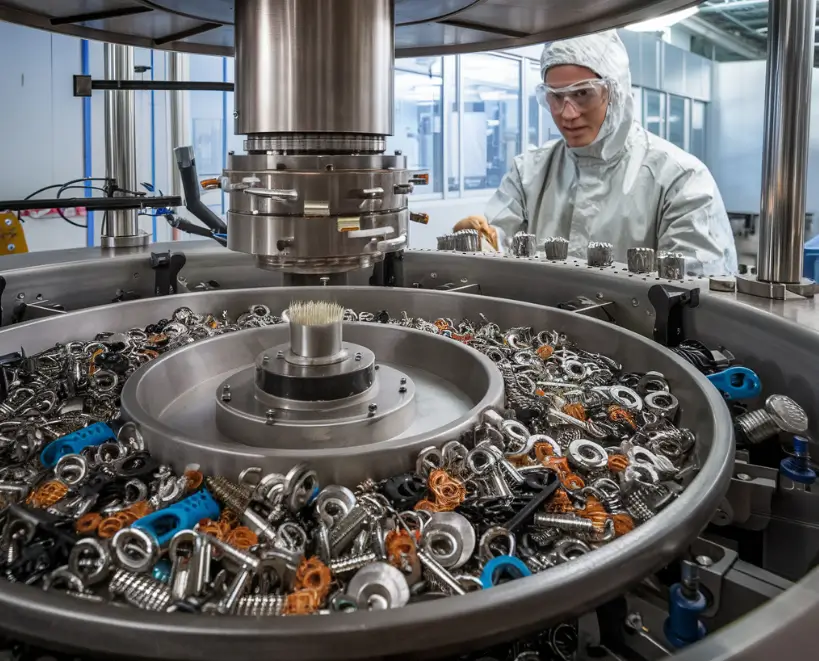
Conduct a thorough inspection of the feeder to identify any visible issues. Check for loose components, wear and tear, and ensure the bowl is free from obstructions.
Checking and Adjusting the Drive Unit
- Electromagnetic Drive Adjustment: Adjust the gap between the magnet and the armature to control the vibration intensity.
- Pneumatic Drive Adjustment: Adjust the air pressure and flow to achieve the desired vibration.
Bowl Alignment
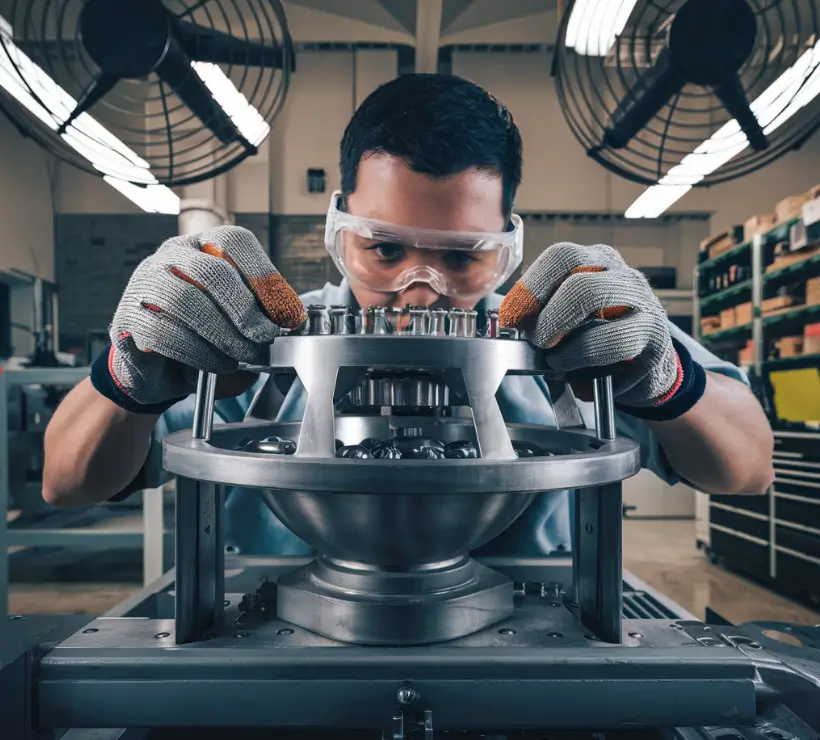
- Leveling the Bowl: Use leveling tools to ensure the bowl is perfectly horizontal. An unlevel bowl can cause inconsistent part feeding.
- Ensuring Proper Part Flow:Check the track for any obstructions and ensure the parts move smoothly without getting stuck.
Tuning the Control System
- Frequency Adjustment: Use the control panel to set the optimal vibration frequency for your specific application.
- Amplitude Adjustment:Adjust the amplitude to control the intensity of the vibrations, ensuring consistent part movement.
Fine-Tuning for Optimal Performance
Adjusting Feed Rate
Modify the settings to achieve the desired feed rate. This involves balancing the frequency and amplitude to ensure parts are fed at a consistent speed.
Handling Different Part Types
Different parts may require different settings. Adjust the feeder for the specific characteristics of the parts being handled, such as size, shape, and material.
Noise Reduction Techniques
Implement dampening techniques and use noise reduction accessories to minimize operational noise, improving the working environment.
Common Issues and Troubleshooting
Overfeeding or Underfeeding
Adjust the feed rate settings and ensure the bowl is properly aligned to address issues of overfeeding or underfeeding.
Part Jamming
Check for obstructions and adjust the track and bowl alignment to prevent parts from jamming.
Inconsistent Part Orientation
Ensure the bowl design and vibration settings are optimized for the specific parts to achieve consistent orientation.
Excessive Noise
Inspect for loose components and use noise dampening materials to reduce operational noise.
Maintenance Tips for Sustained Performance
Regular Cleaning
Keep the feeder clean to prevent build-up of debris that can affect performance.
Periodic Inspections
Conduct regular inspections to identify and address wear and tear before it becomes a problem.
Component Replacement Guidelines
Replace worn or damaged components promptly to maintain optimal performance.

FAQs
What are the signs that a vibratory bowl feeder needs adjustment?
Signs include inconsistent feed rates, part jamming, excessive noise, and irregular part orientation.
How often should adjustments be made?
Adjustments should be made as needed, based on performance observations and regular maintenance schedules.
Can adjustments be made without professional help?
Basic adjustments can often be made in-house, but complex issues may require professional assistance.
Adjusting a vibratory bowl feeder involves understanding its components, following a systematic adjustment process, and fine-tuning for optimal performance. Regular maintenance and troubleshooting are essential to keep the feeder running efficiently, ensuring smooth and consistent part feeding in your production process.
Contact Our Engineers
Discuss your current issues with vibratory bowl feeders

