

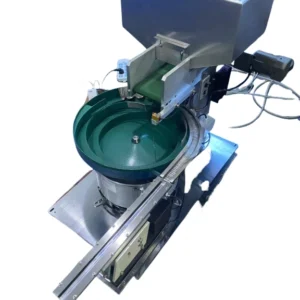
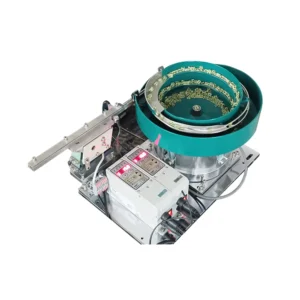
How to Adjust a Vibratory Bowl?
Tuning a bowl involves balancing amplitude and frequency for optimal part flow. Always disconnect power before initial inspection.
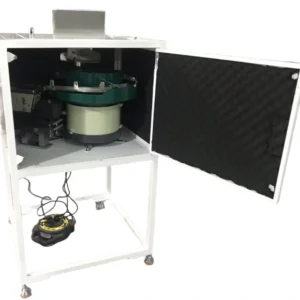
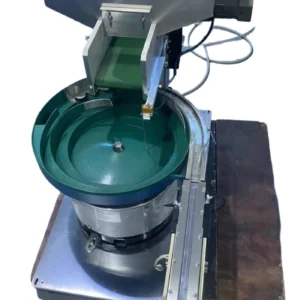
- Preliminary Inspection
- Safety: Ensure power is OFF.
- Check Fasteners: Tighten all bolts.
- Check Air Gap: Ensure the electromagnet gap is clear and within specification.
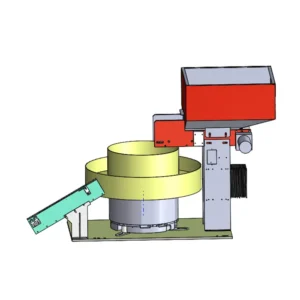
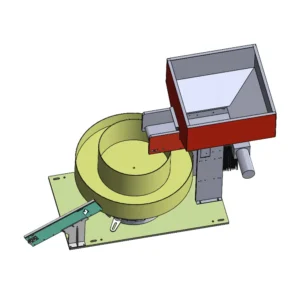
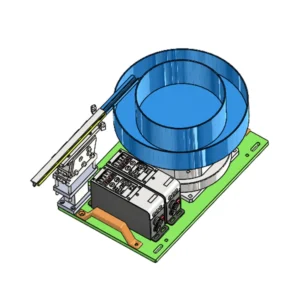
- Core Adjustment Steps
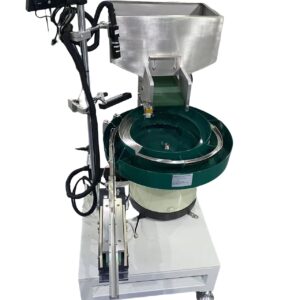
- Adjusting the Leaf Springs
- Goal: Change the vibration angle and force.
- Quantity: Adding springs reduces amplitude (gentler feed); removing springs increases it (more forceful).
- Angle: Fine-tune the spring pack’s attack angle for precise control.
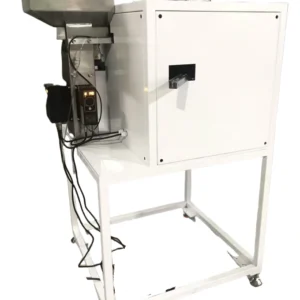
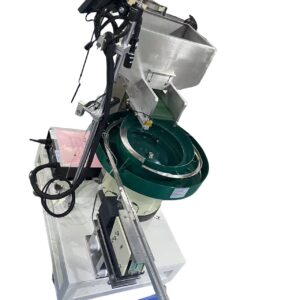
- Adjusting the Controller
- Goal: Change vibration strength and rhythm.
- Amplitude Knob: Adjusts voltage. Clockwise increases amplitude; counterclockwise decreases it.
- Frequency Knob (if available): Adjusts the on/off frequency of the electromagnet.
III. Testing and Optimization
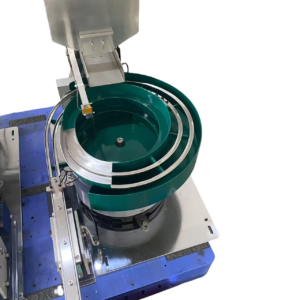
- Load Parts: Add a small sample of parts.
- Power On: Start with low amplitude.
- Observe and Tune:
- If parts don’t move: Slowly increase amplitude.
- If parts bounce or stand up: Decrease amplitude.
- For jams: Inspect and adjust local track tooling or vibration.
- Full Load Test: Gradually increase parts to normal level to ensure stability.
Summary: The golden rule is “start low and adjust incrementally.” Success is achieved when parts flow steadily, continuously, and controllably without bouncing, backflow, or piling up.


Reviews
There are no reviews yet.